This DIY Chain Waxing guide was updated using the Silca Method. It works with any type of paraffin wax.
Paraffin wax is the best thing out there. It’s clean, quiet and super fast. Using paraffin also helps prolong the life of your gear. While Hold Fast offers both pre-waxed chains and a waxing service, this is a simple process that you can easily do yourself. The first time you try the process it will probably take a little more time than you’d like. But after a couple of times the entire process will only a take a few minutes of work. Between steps is a good time to work on your bike.
I suggest using a few chains in rotation, so you only need to wax every month or so. I’m going to speculate here, but if you’re considering using paraffin, you probably ride a lot. And if you ride a lot you probably go through a few chains a year. Rather than wear out a chain and replace it every few months, use 3-4 chains at a time and cycle them every few weeks. This will also help prolong the life on your cassette and rings too. On my road bike, I cycle through 3 chains. I wax them all at the same time, then use one chain for 10 days, then the second for the next 10, then the third chain. Then re-wax all my chains at the same time and start the cycle over again.
Required items for the DIY Chain Waxing process:
- Mineral Spirits – for cleaning chains
- Denatured Alcohol – also for cleaning
- Paraffin Wax – Molten Speed Wax, Silca Secret Wax or any fully refined paraffin like Gulf Wax
- Crock Pot – you can get a great small one at Target for about $10
- Coat Hanger – to make a dipping tool
Step 1) Clean your chain, really well. It doesn’t matter if it’s brand new or been used for months, it needs to be bone dry clean to start. Use a mineral spirit as the first step to clean off any gunk, factory lube, old lube, etc. The best way to do this is to soak the chain in a jar and shake it a few times. Let the chain soak for a 20-30minutes. After you remove the chain, I use an air compressor to dry the chain. Then do another soak and shake in denatured alcohol. Remove and dry using compressed air. If you don’t have an air compressor, you can wipe it off and let it sit to dry between steps. You only need to complete this cleaning process the first time. Once you begin the wax cycle, there’s no need to clean between waxing. More on this later.
Step 2) Melting wax. Just dump it directly into your crock pot and turn it on. Keep the wax temp between 180-200. Depending on how much you put in the pot, this could take awhile. I normally set it to low and walk away for 45 minutes.
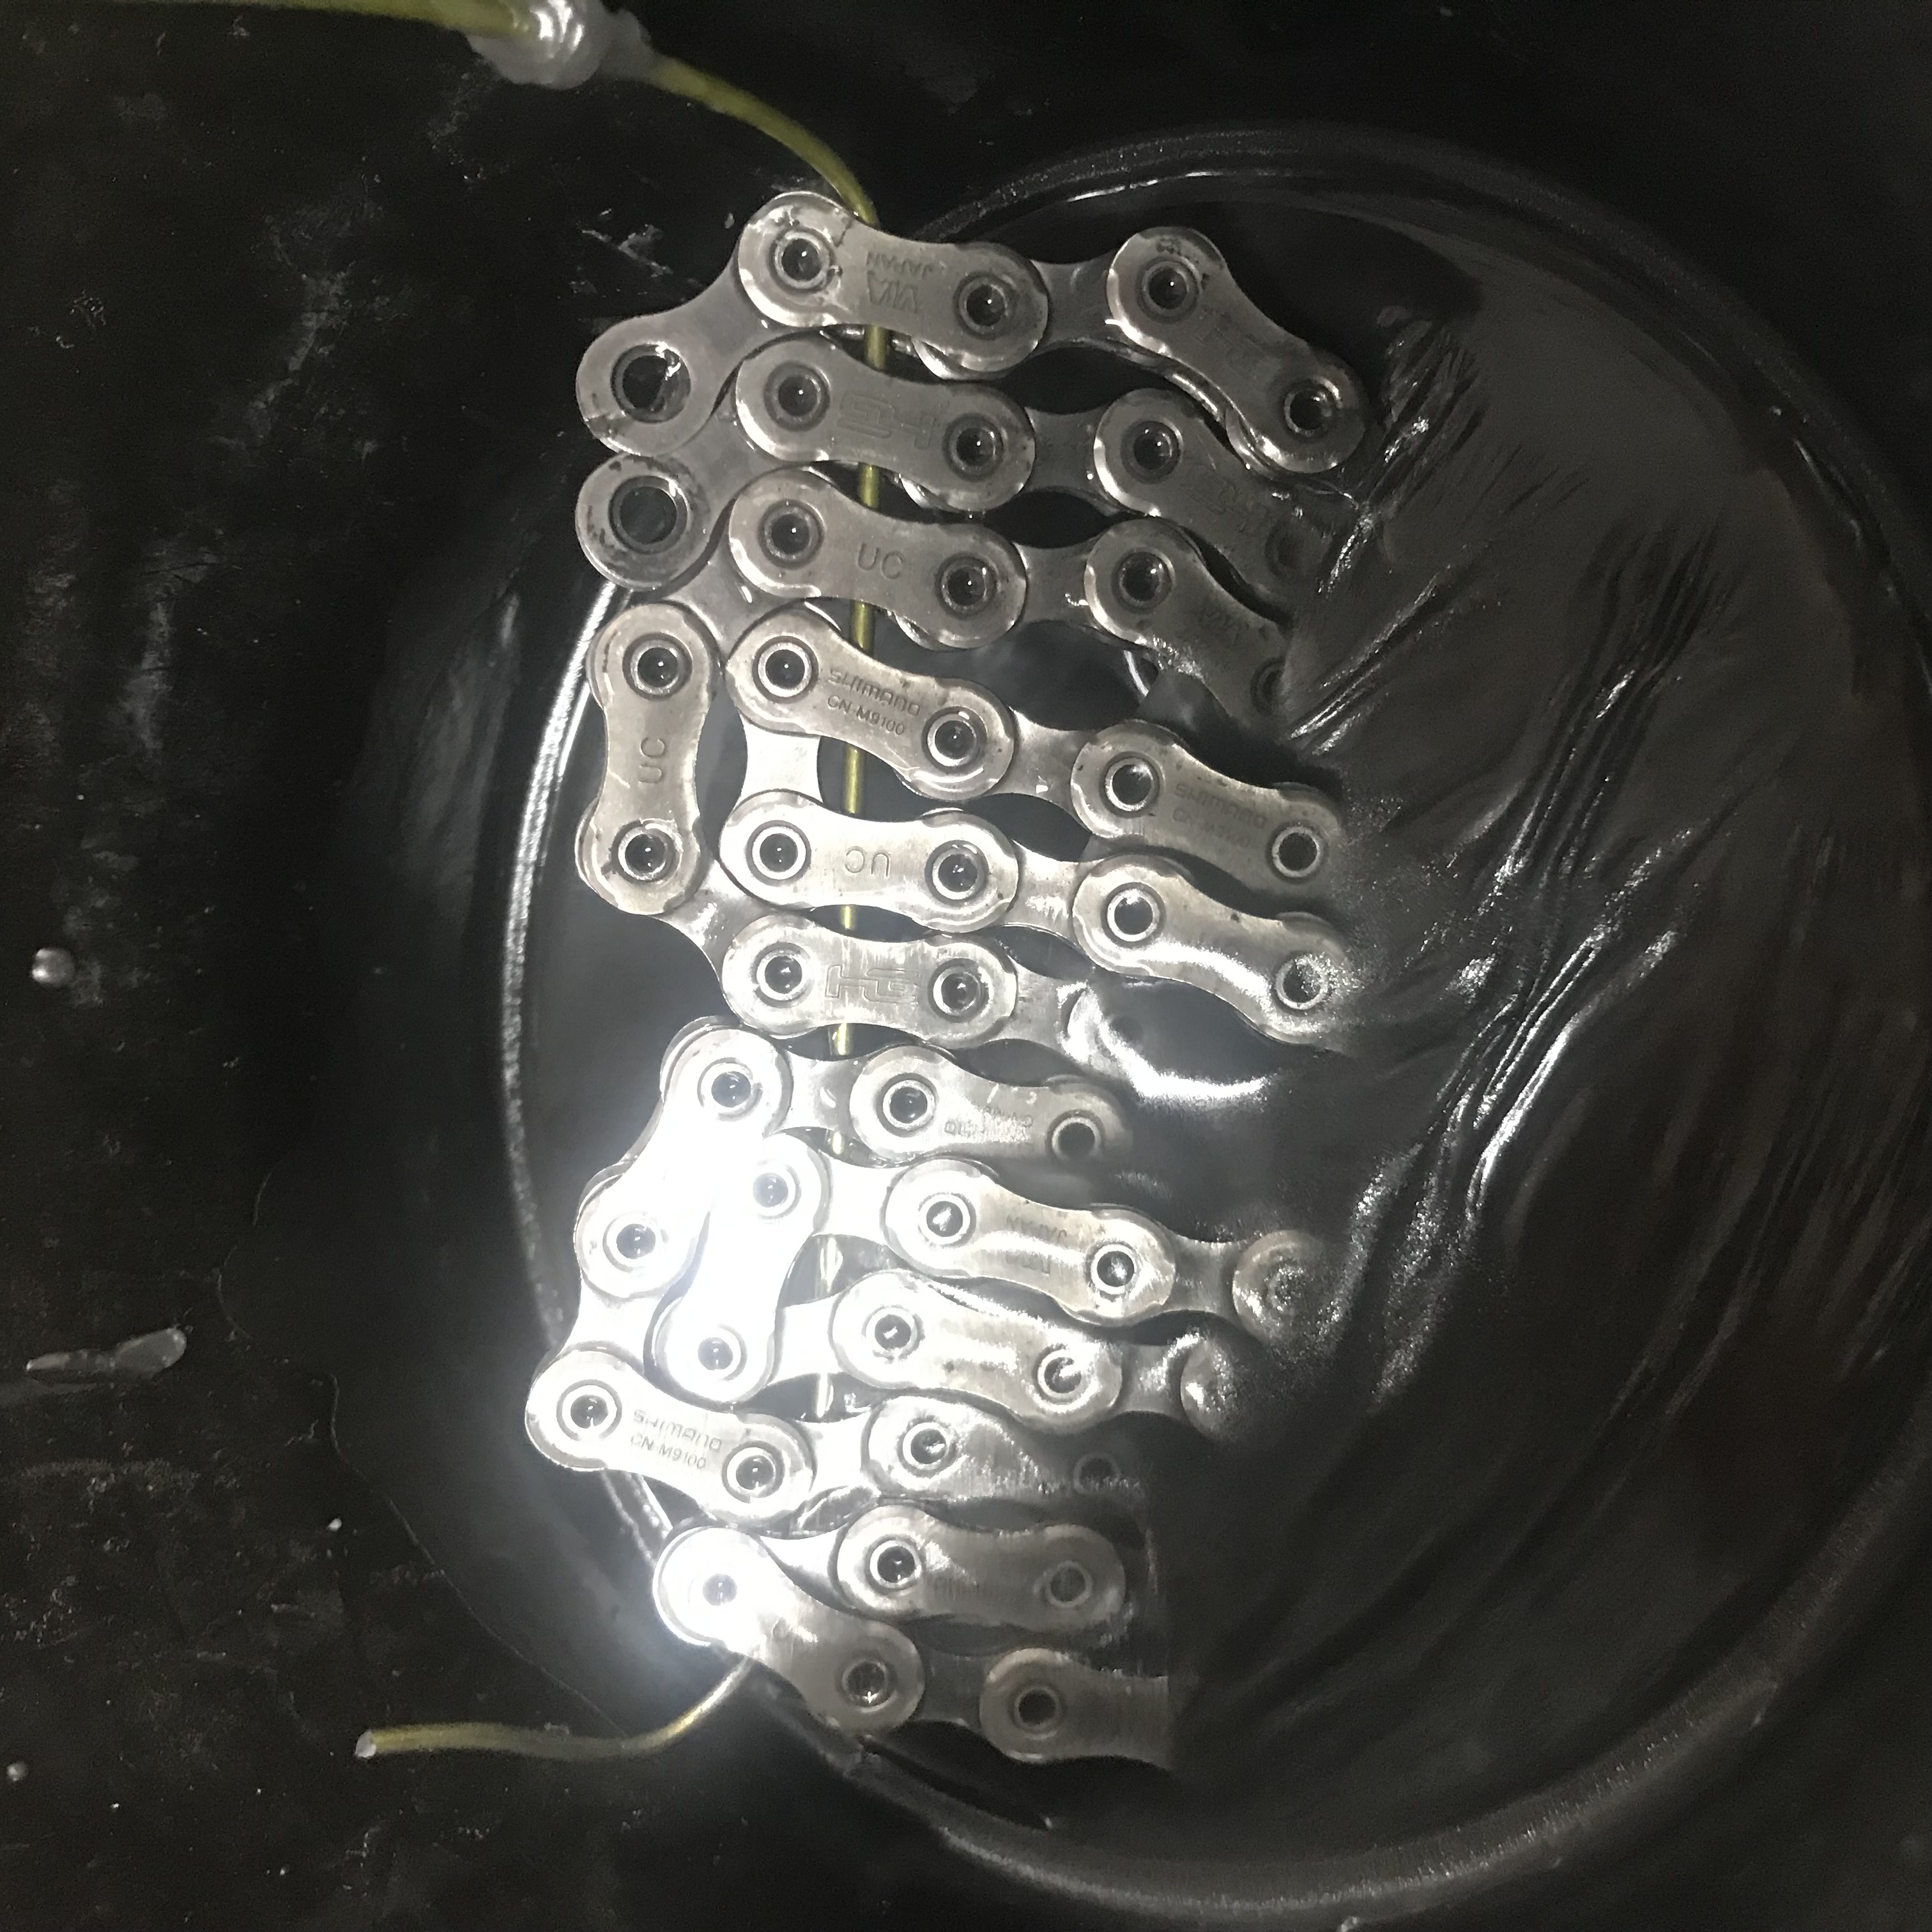
Step 3) Thread your chain onto your dipping tool and fully submerge in the wax. Swish, agitate, swirl and spin it around for a few seconds and then leave it alone for 20min. Seriously just let it sit there. The wax will start to make its way through the links and pins and start to coat the chain. After the time is up, swish again and turn the pot off. Let the chain rest in the pot.
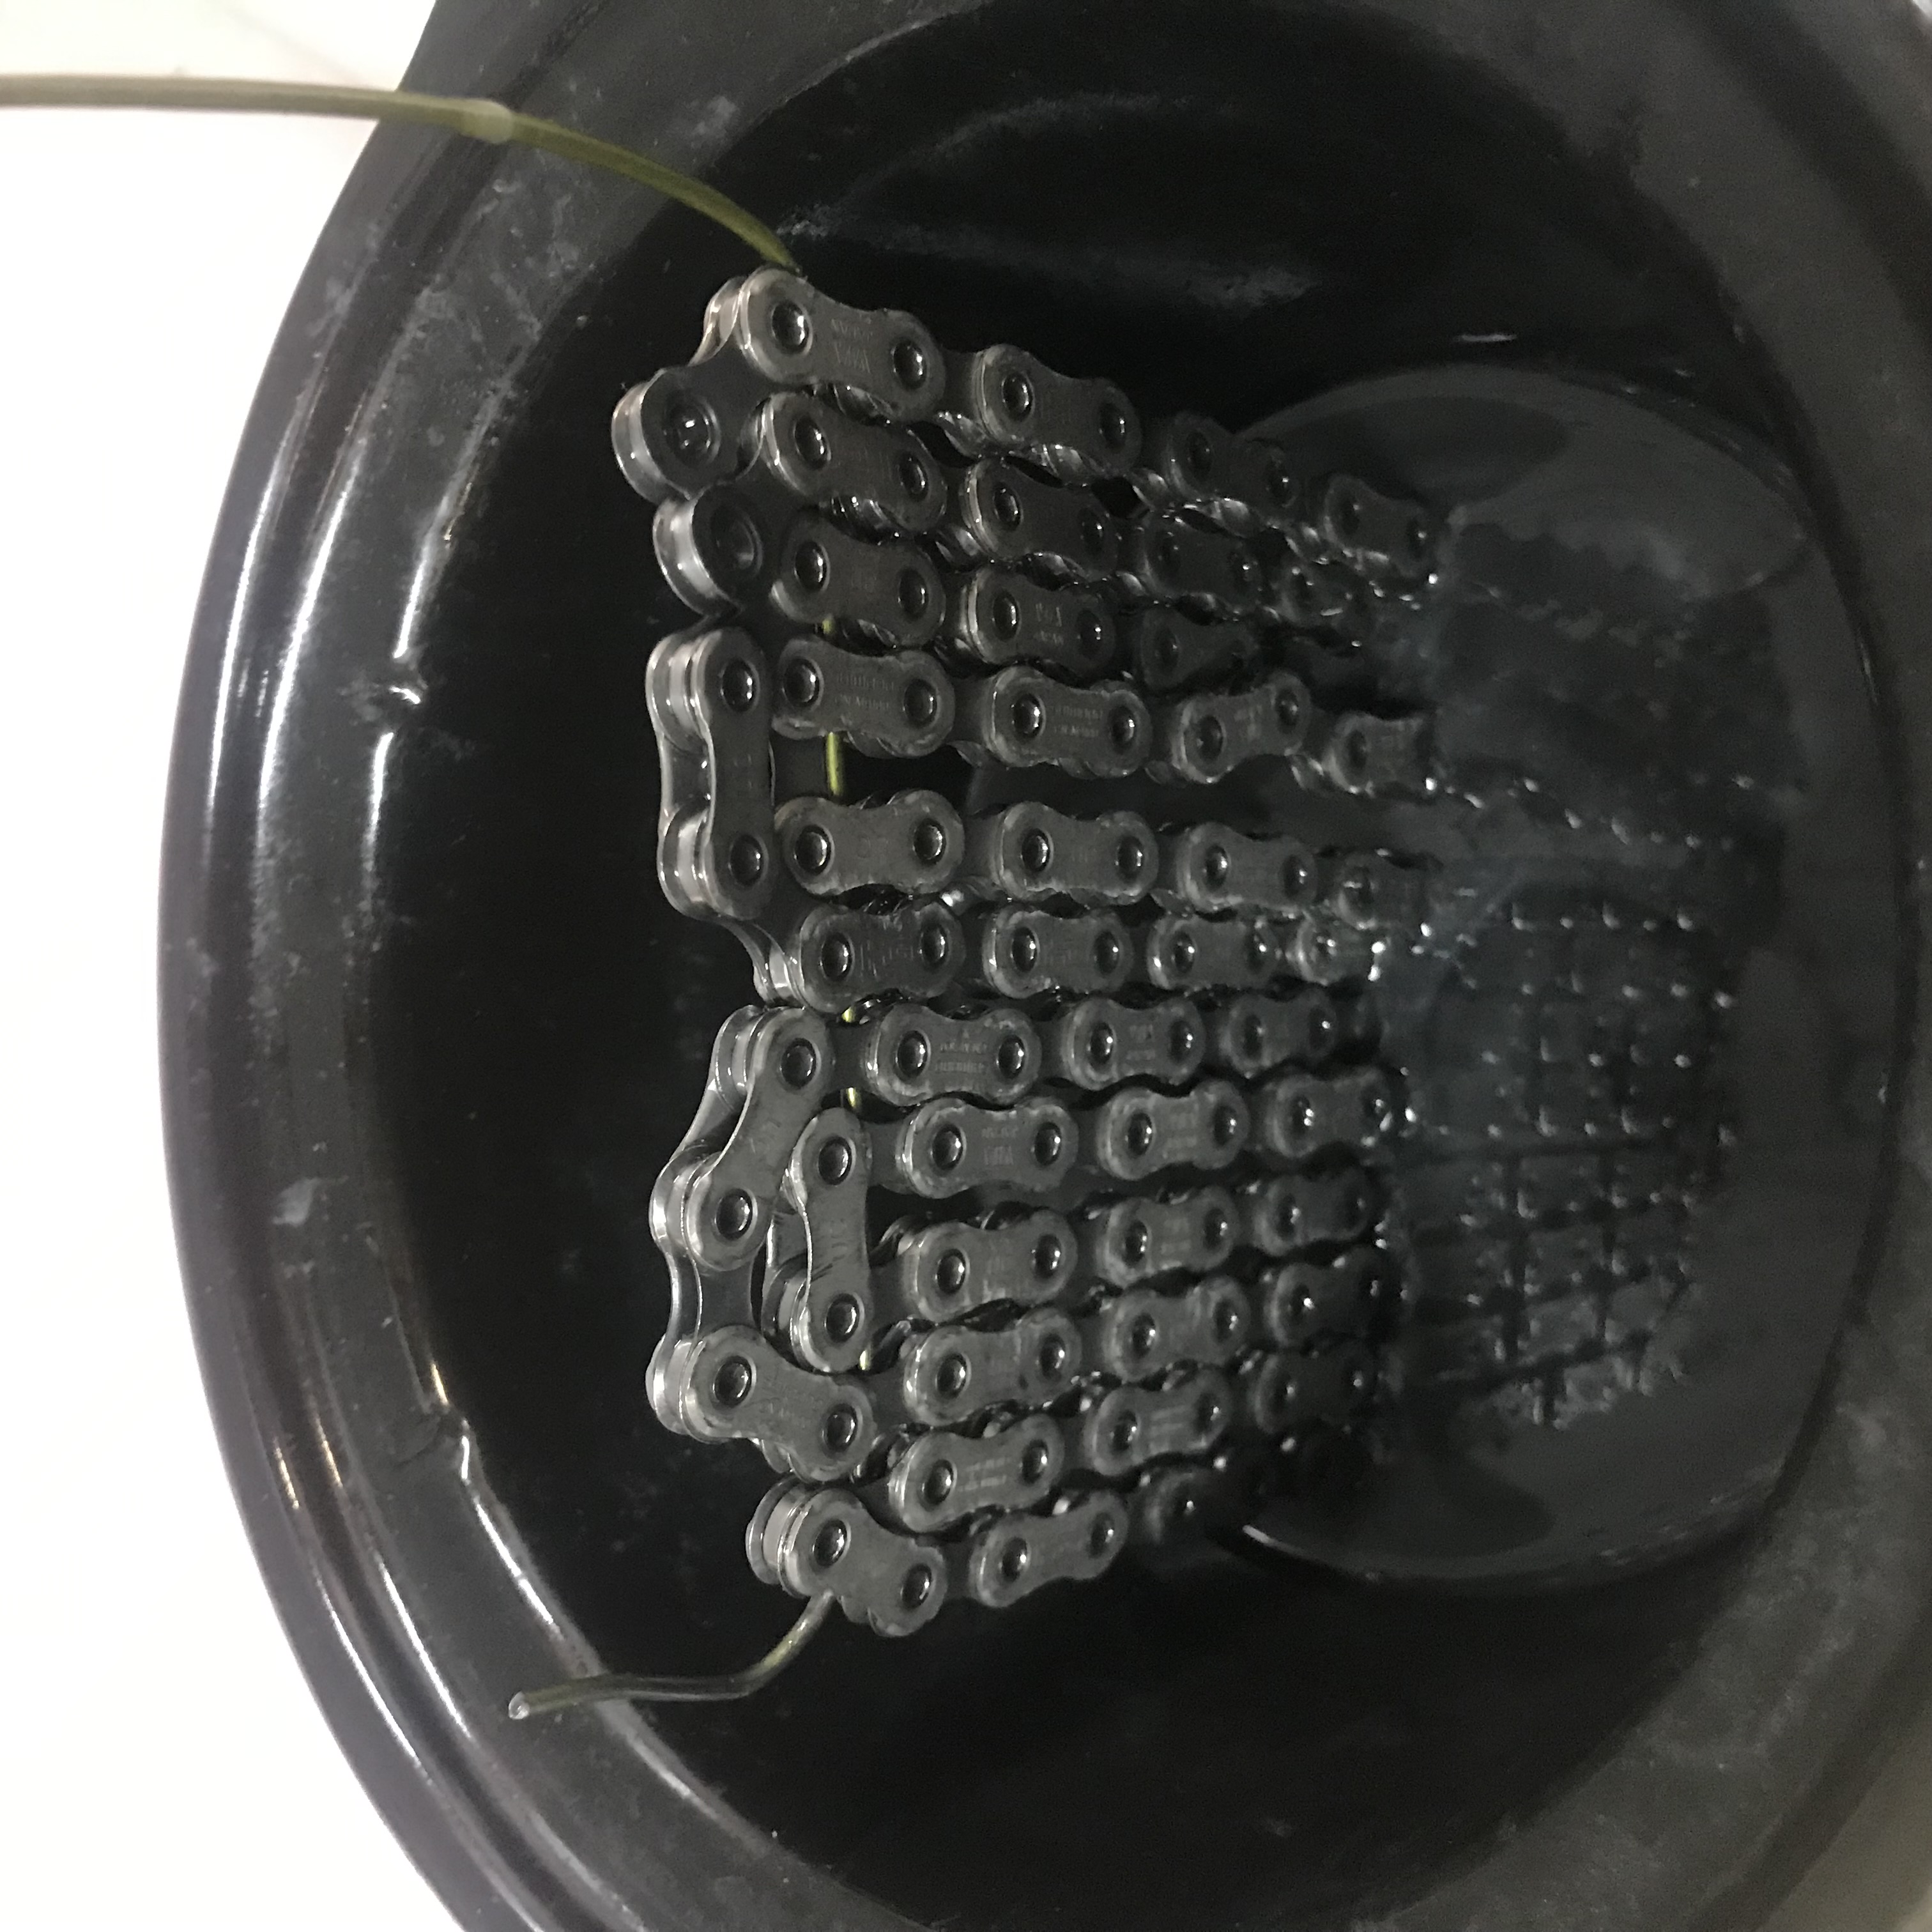
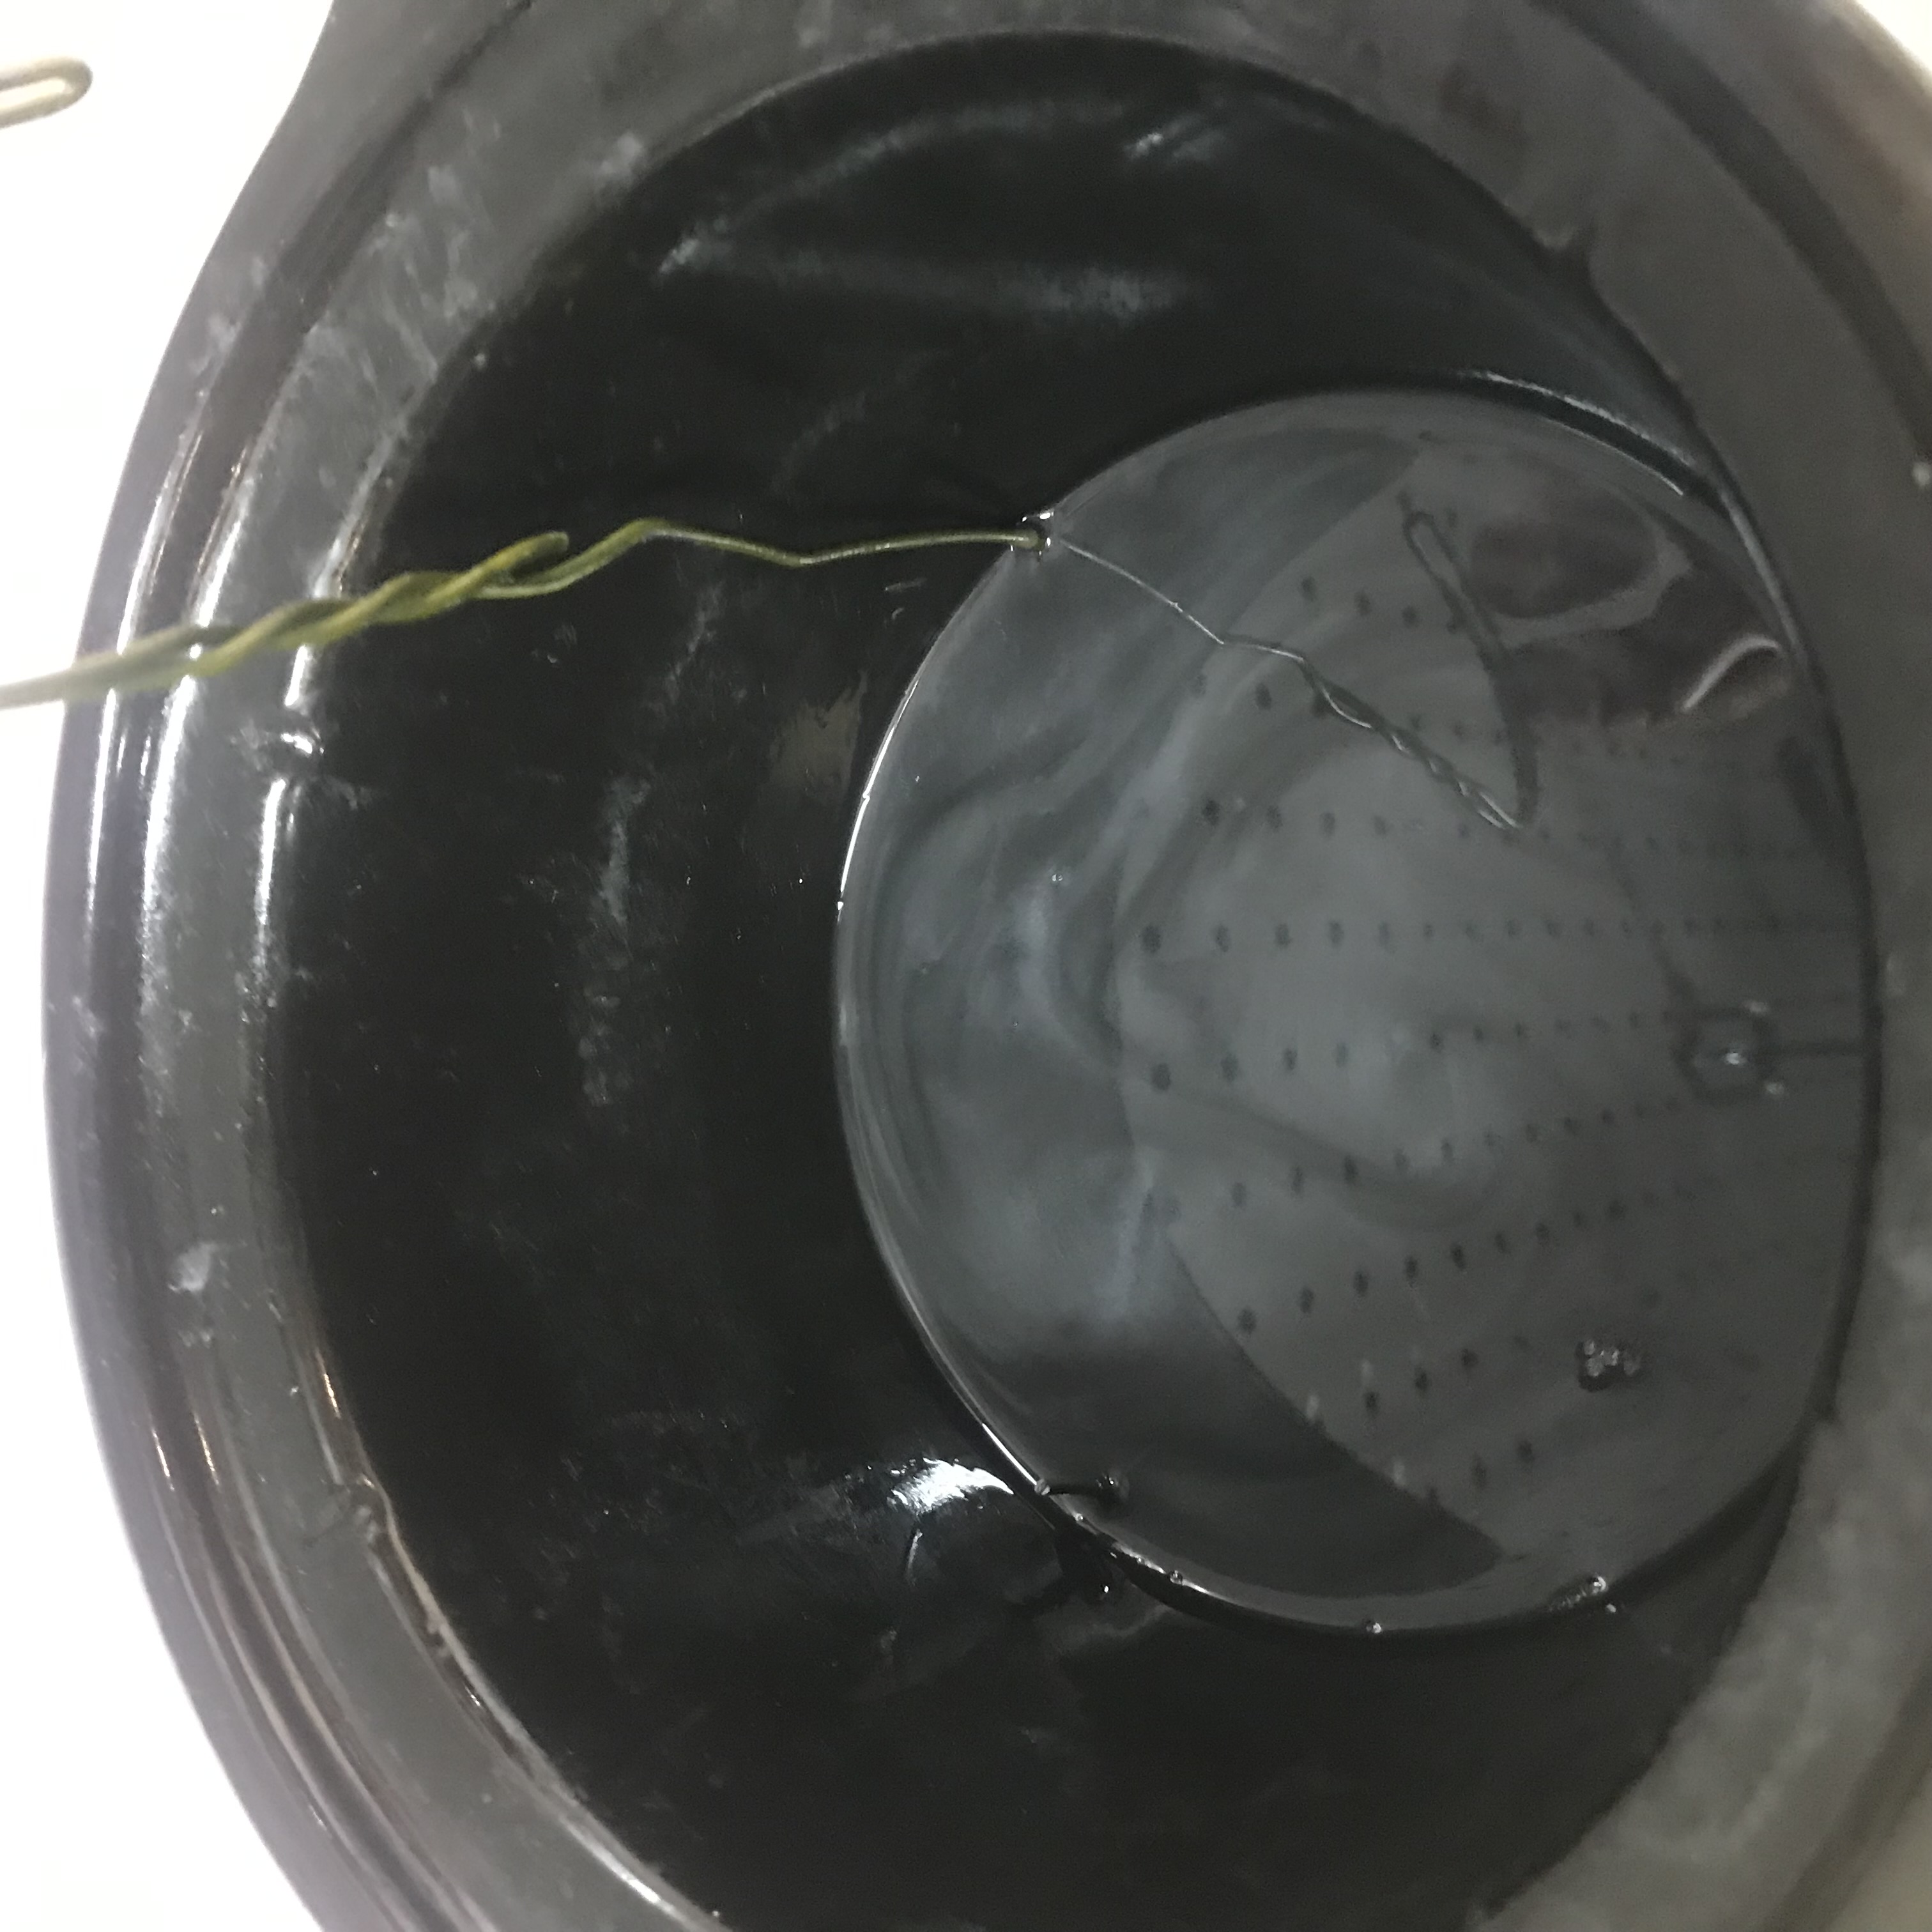
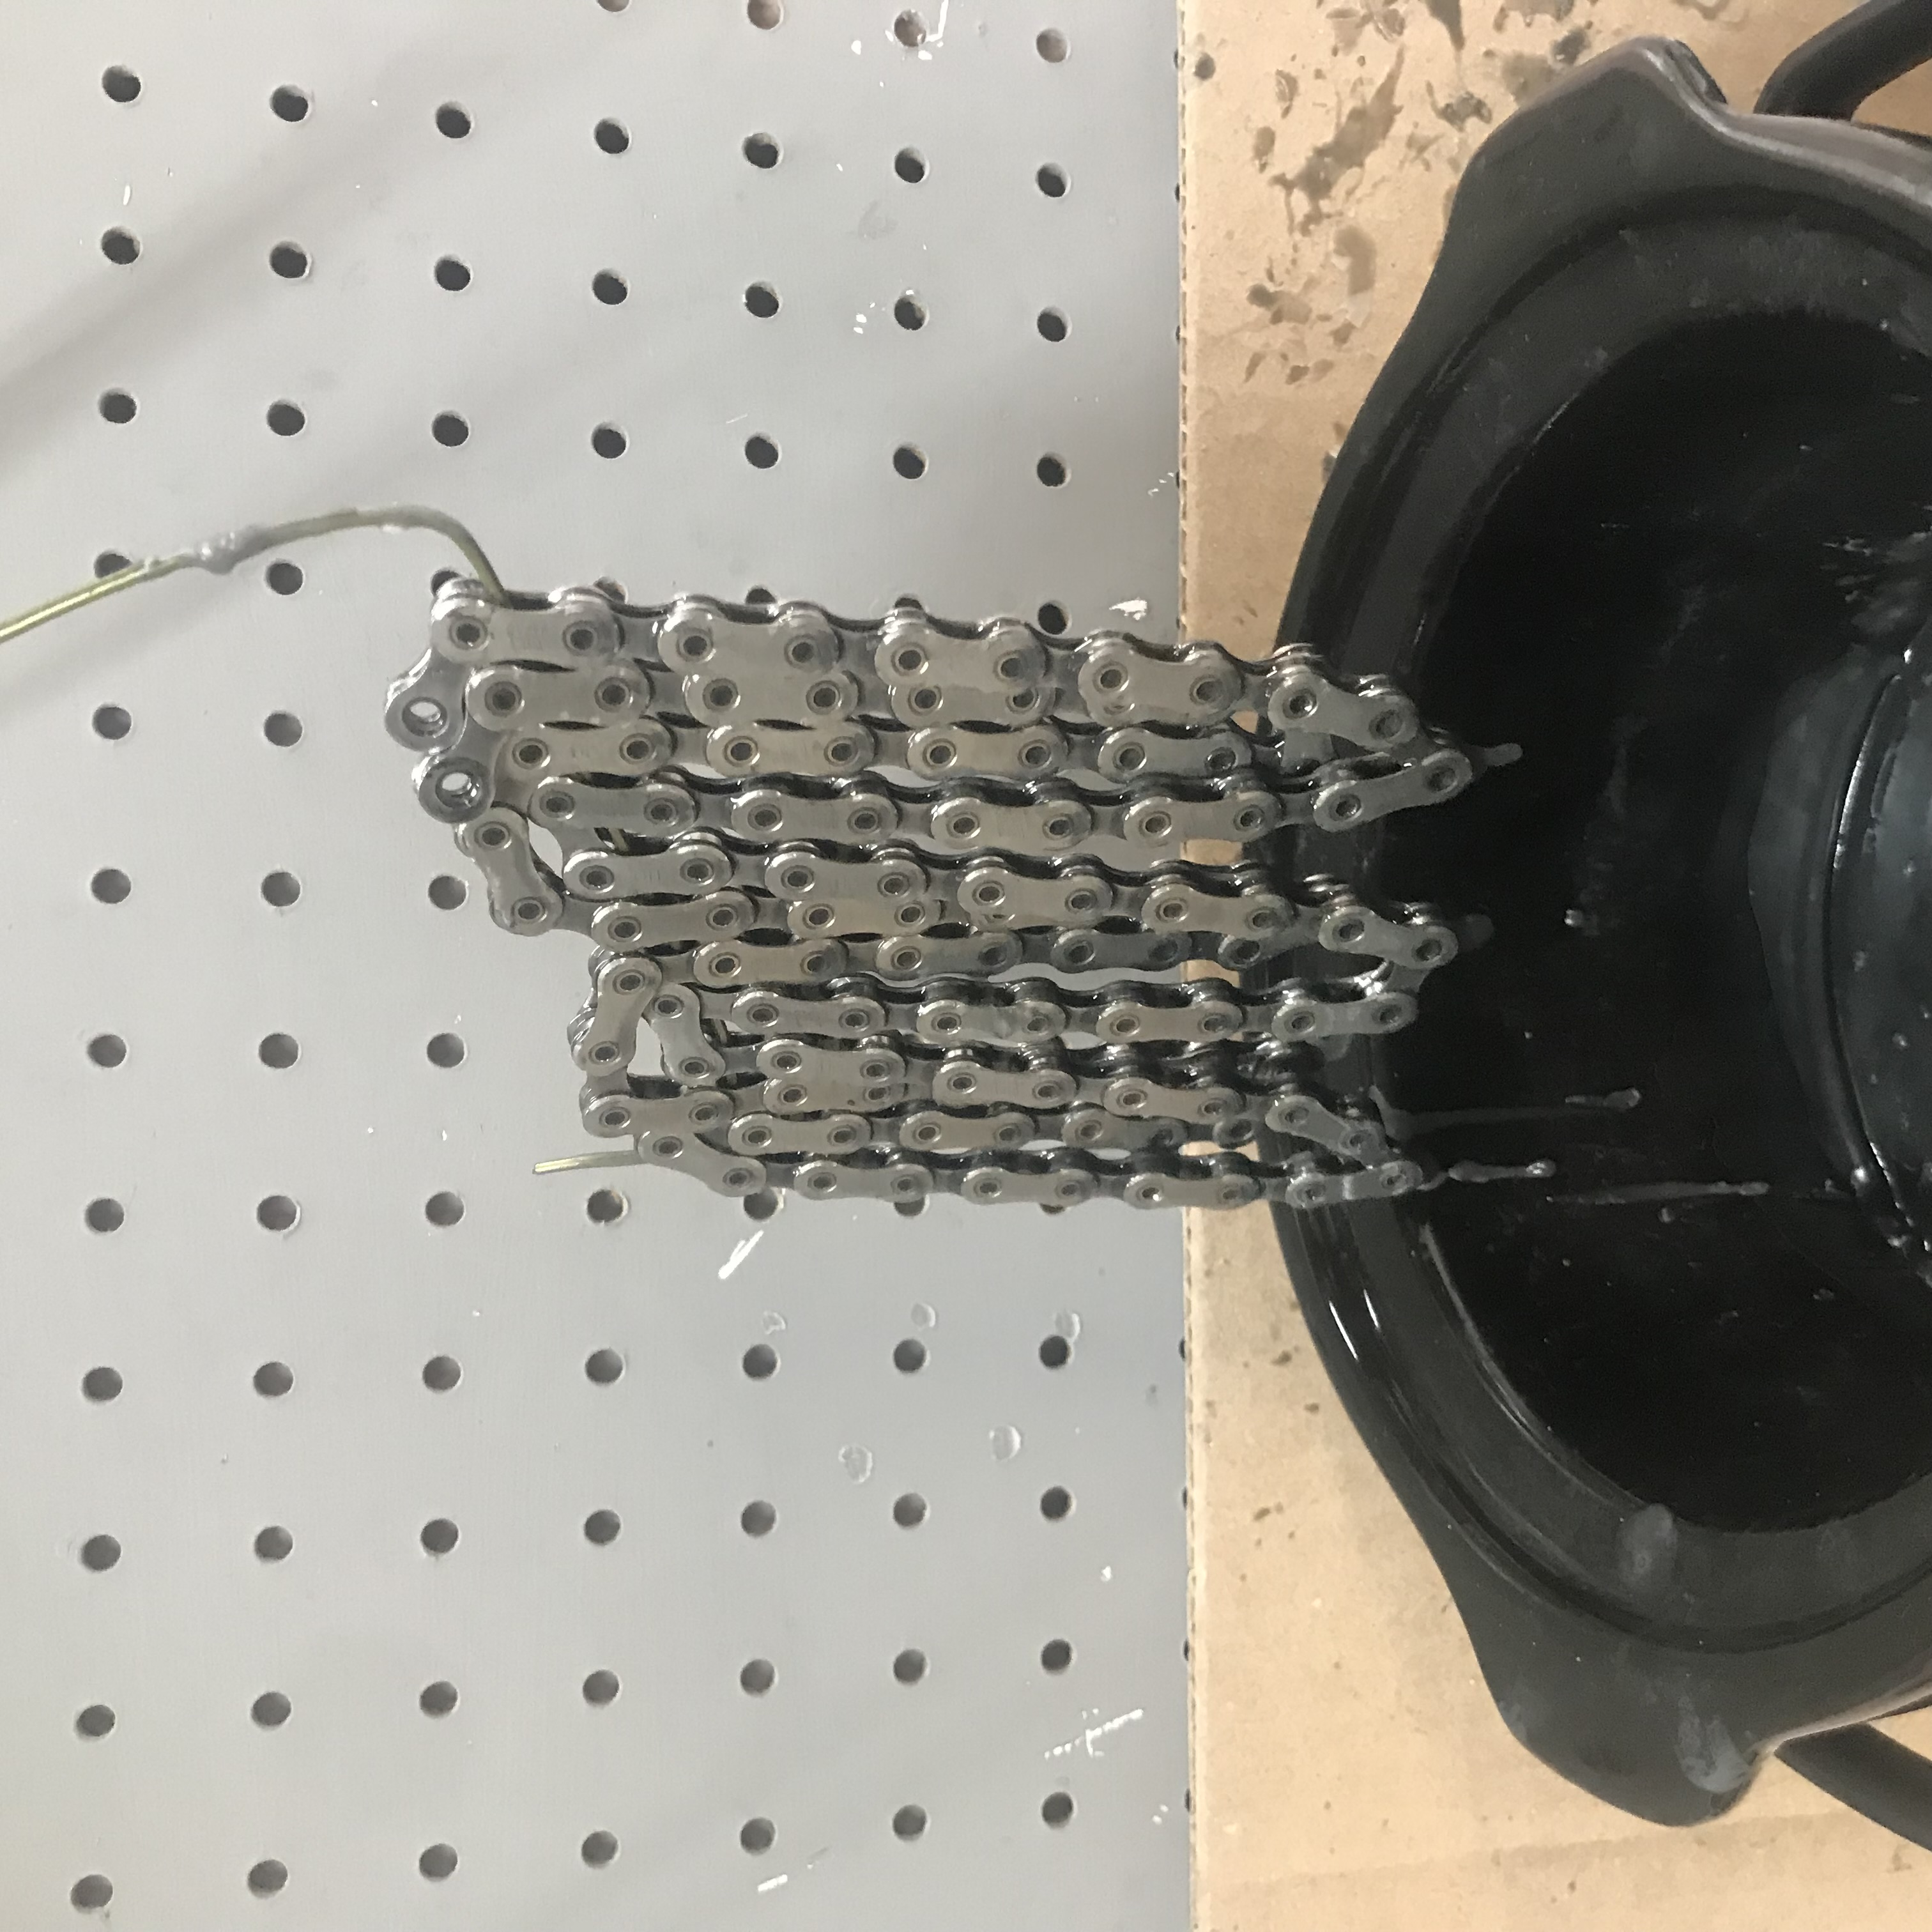
Step 4) After awhile (depending on how much wax is in your pot) a thin layer of solid wax will form on the top. Like a pond starting to freeze. As soon as that thin layer forms, remove the chains from the wax and hang dry. Wax will drip everywhere, so I’d let it hang above the pot on the dipping tool.
Step 5) The chain is going to be stiff after the wax dries. Before you install it on the bike, break the bond on the links so there’s more play in the chain. You can run it over a 2×4 or PVC pipe and break the links.
Now you’re ready for silent and clean riding for hundreds of miles.
To recap: Clean your chain really well, melt the wax, dunk chain and stir around, wait for the thin layer to form, hang dry, install and then go ride.
Some additional DIY Chain Waxing thoughts.
As long as you don’t add any lube or the chain isn’t covered in dirt, you can dump the chains back into the wax when the time comes. You don’t need to clean it every time.
When the pot gets low on wax, this is when I suggest starting fresh. If you have a small crockpot, once the wax gets too low to cover just one chain, it’s time to refresh the pot. Melt the existing wax to remove it from the pot and wipe out the tank. Then start the process over again.
I realize this is a long post about lubing your chain, but it’s way less complicated than it seems. And it’s completely worth it. Your gear will last much longer, you will rarely have to clean your drivetrain, and it works better than any lube out there.
The easiest way to get started is to have us do the first round. Check out the options over here.